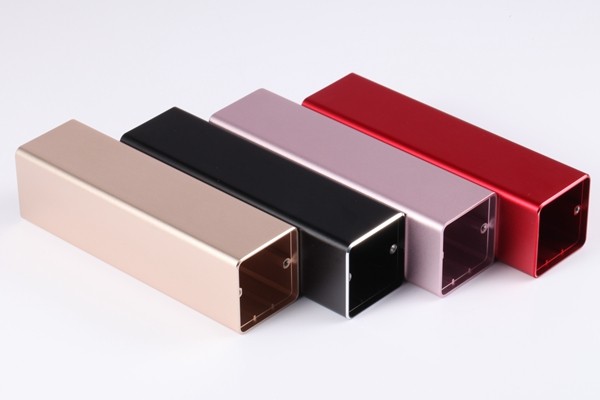
How to prototype with metal?
Views: 627 Update date: Jul 04,2024
Prototyping is a critical phase in product development, transforming concepts into tangible models for testing and validation. Among various prototyping materials, metal stands out due to its strength, durability, and versatility. Why Opt for Sheet Metal Prototyping?
Sheet metal is an excellent choice for prototyping because it:Offers Superior Durability: Ideal for prototypes that need to withstand rigorous testing.
Provides High Precision: Modern fabrication techniques ensure exact specifications are met.
Ensures Versatility: Applicable across various industries including automotive, aerospace, and consumer electronics.
Steps to Prototype with Sheet Metal
Step 1: Conceptualize and Design
Start with a robust design phase. Utilize CAD (Computer-Aided Design) software to create detailed and accurate blueprints of your prototype. This step should cover:Dimensions and Tolerances: Clearly define all measurements and acceptable variations.
Material Specifications: Select the appropriate type of sheet metal (e.g., aluminum, steel, copper) based on the prototype’s requirements.
Step 2: Material Selection
Choosing the right material is crucial. Common options include:Aluminum: Lightweight, corrosion-resistant, and easy to work with.
Steel: Strong, durable, and suitable for high-stress applications.
Copper: Offers excellent electrical conductivity and malleability.
Step 3: Cutting the Sheet Metal
Accurate cutting is essential for a precise prototype. Methods include:Laser Cutting: High precision and clean edges, suitable for intricate designs.
Waterjet Cutting: Uses high-pressure water, ideal for thicker materials.
Plasma Cutting: Efficient for medium to thick metal sheets, offering speed and accuracy.
Step 4: Forming and Shaping
Once cut, the sheet metal needs to be formed into the desired shape. Techniques include:Bending: Utilizing a press brake to achieve precise angles and curves.
Stamping: Ideal for high-volume production with consistent results.
Hydroforming: Employs high-pressure hydraulic fluid to mold the metal into complex shapes.
Step 5: Assembly
The assembly process combines individual parts into a cohesive prototype. Methods include:Welding: Creates strong, permanent joints.
Riveting: Effective for joining sheet metal components quickly and securely.
Adhesive Bonding: Suitable for applications requiring flexibility and a clean finish.
Step 6: Finishing
Finishing processes enhance the prototype's appearance and durability. Common methods are:Painting or Powder Coating: Provides a protective and aesthetic finish.
Polishing: Achieves a smooth, reflective surface.
Anodizing: Increases the corrosion resistance and surface hardness, especially for aluminum.

Best Practices for Successful Sheet Metal Prototyping
To ensure a successful prototyping process, consider the following tips:Iterative Design: Continuously test and refine your prototype based on feedback and testing results.
Precision and Accuracy: Maintain tight tolerances and detailed specifications throughout the process.
Expert Collaboration: Work with experienced metal fabricators to optimize design and manufacturing techniques.
Conclusion
Sheet metal prototyping is a vital process in developing durable and precise prototypes for various applications. By following a systematic approach from design to finishing, you can create high-quality metal prototypes that meet stringent standards and functional requirements. Embrace these best practices to streamline your prototyping process and achieve optimal results.


